Add your own title and intro here (Change this under Settings -> General -> Tagline)

Category: Free Inquiry

This is the category to apply to your Free Inquiry posts.

Tutorial #3: Google Forms

I have a bit of experience using Google Forms from running University clubs and course unions during my Undergraduate degree, but I wanted to see if I could learn more and find ways to optimize collecting student information using Google Forms. I am also tentative to use them due to data privacy issues, so I’m interested to see if this tutorial by Google addresses data collection and storage concerns.

I started out by watching the videos embedded in Google’s tutorial. It showed me how to access Google Forms from my Google homepage when logged into my Google account.

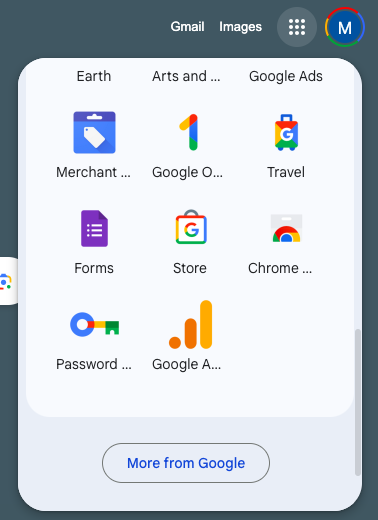
I found the app and opened it up. Since I haven’t made any Google Forms on my personal email before, the screen was mostly blank, but I was pretty pleasantly surprised to see template options to get started with. I usually like to start with a template to guide my thoughts.

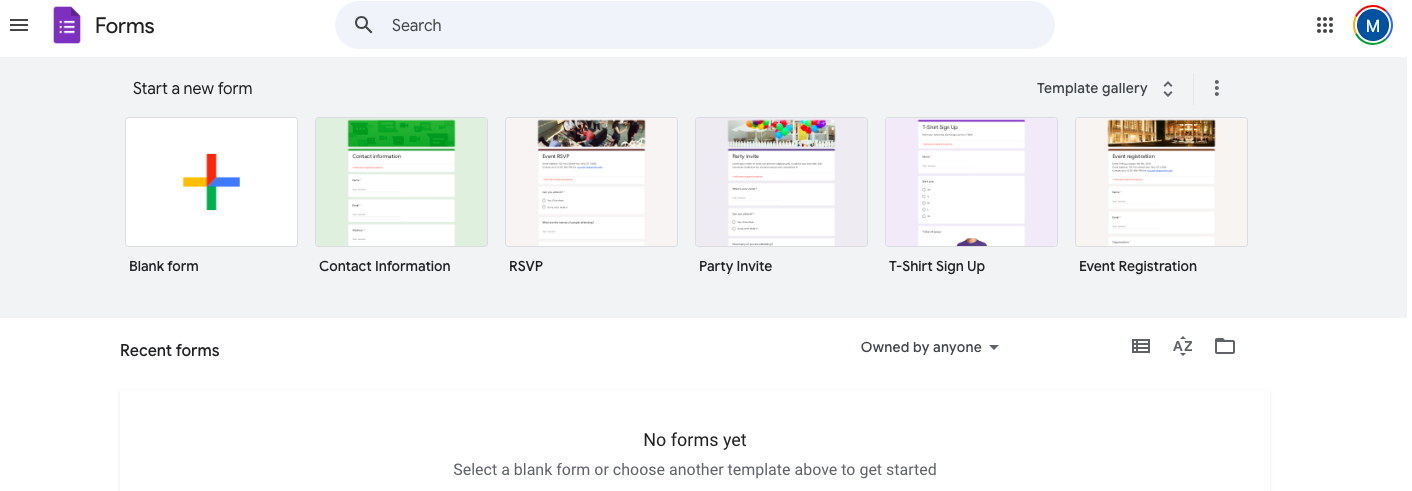
There was even a section of templates specifically for education including options like exit tickets, worksheets, and assessments.

I decided to try it out using a blank form to start so that I could get used to the different types of questions and responses I could use. There was tons of options for questions types, so I decided to make one of each question on my practice form. I also played around with features like adding a description to the question or a response validation.

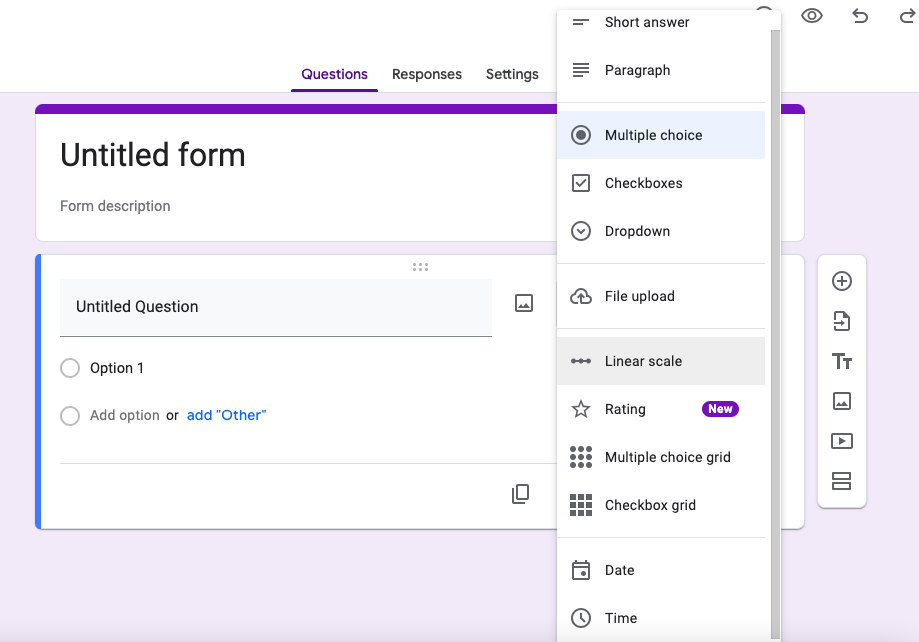
While creating my questions, Google Forms randomly changed my question type based on what I wrote as the question. This annoyed me, as it didn’t even ask if this was a change I wanted to make. I’m glad I noticed, or I would have been very confused later.

After I finished creating all of my questions, I learned how to share my Google Form using Google’s tutorial. I’ve attached it here in case anyone wants to check it out! https://forms.gle/SJDcCVBBY2VpVLb67

I noticed that to view responses, I could either view them individually in Google Forms itself, or have the responses copied to a handy spreadsheet to keep them all in one place. I would totally use the spreadsheet response feature.

Finally, I took a look at the exit ticket template to see if it was something I’d actually use in a class. It’s pretty simple but a good way to quickly collect feedback from a lot of students, so I may actually try it out in the future! This might be especially handy if I could share it using a QR code up on the screen or a link put on the Google Classroom. https://forms.gle/BcikGZ4PAR9jRtEc9

All in all, I enjoyed getting to know Google Forms a bit better. The tutorial did not address any data privacy concerns, so I would have to be careful about what kind of information I collect from students using forms. It is definitely a tool that I’ll use in the future to collect information from lots of students very quickly!

Tutorial #2: Mentimeter

I tried out Mentimeter for my second tutorial since I was impressed with what I’d seen it do in our class so far, and I’ve seen a few of my peers use it for mini lesson assignments. I created an account which I was happy to see was free and didn’t require me to download anything to use. I then began the Beginner’s Guide course, which didn’t take very long to finish but was very informative! I even got a certificate of completion for finishing it.

After completing the beginner course, I decided to try and make my own lesson using Mentimeter. I had already completed a mini lesson assignment on Multiculturalism in Canada, so I decided to re-create that to try out the new program and see what cool things I could integrate in which I couldn’t using only google slides.

When I opened up the home page, a button labelled “Start with AI (beta)” caught my eye. I decided to do a test of how well the AI could replicate my mini lesson which I spent a fair bit of time on using just a short prompt.

I clicked the button and put in the prompt “Lesson on multiculturalism in canada, collect student’s definitions of ‘multiculturalism’.” All the program did was ask me for a colour theme, and then it began generating a presentation.

I was astonished by the result that it gave me only about 30 seconds later. The presentation content was nearly identical to about half of my mini lesson which had taken a long time to plan and prepare. It left out some more nuanced information about historical injustices in Canada which I had not specified in the prompt. Otherwise, much of the information was the same, so I consider it to be accurrate. Not only that, but it automatically embedded two student interaction opportunities, one to check understanding with a quick quiz, and one to gather students thoughts about what multiculturalism means to them. I created a QR code to share the presentation here in case anyone is interested in checking it out. I didn’t even edit anything, the AI just did a really realistic job.

I didn’t expect my foray into Mentimeter would end in me marvelling at how convienient AI is for creating full lessons in only a matter of seconds using a carefully worded prompt. It’s also amazing to think that this technology is only in its beta phase of testing. I am excited and nervous to see how this type of technology will improve over the course of my teaching career.

Besides the AI, I had a great time learning about and exploring Mentimeter. I love how interactive it is for students, and how it seamlessly embeds these activities into the slides without the need to switch screens or fiddle with the tech too much. I will definitely give it a try in my next mini lessons and my practicum, and I can’t wait to explore more of the creation features myself instead of using AI as well.

Tutorial #1: Design and Layout in Canva

For my first tutorial, I decided to check out Canva. I was already impressed upon opening the tutorial to find that Canva is free and requires no download of software to use. Some of the intro videos on the tutorial are a bit outdated; Canva doesn’t quite work like that anymore, but it is still similar enough that I was able to walk through the tutorial mostly normally.

The tutorial also gave tips for layout and design:

  • 5 principles for layout and composition:
    • Proximity 
    • White space 
    • Alignment 
    • Contrast and Hierarchy
    • Repetition 
  • Use high-quality, distinct, specific images 
  • Design choices impact the feel of your project
  • Keep promo materials simple – minimal enticing information 
  • Match colours in your theme to colours in your images 
  • Give text breathing room – don’t cram it all in
  • Collect text, logos, and images before you choose a template and start designing 
  • Use pre-existing templates on Canva

With these design principles in mind, I jumped into the “design a poster” part of the workshop to try out Canva’s tools for myself.

I started by creating a Canva account and selecting my format for my first design. As per the instructions on the tutorial, I chose the Poster format.

Next, I searched for the template that the tutorial used: “oktoberfest brown.” I was shocked by how many options there were for just brown Oktoberfest posters to choose from, although many of them were blocked by the “premium” account you have to pay for.

I began editing the template as per the tutorial’s instructions. I removed the image by just selecting it and pressing delete, which left a slot for a new image.

I added “Pixabay” as an app on my sidebar so that I could use it to search for a new image. As per the tutorial’s instructions, I searched for “laptop” and picked a nice option with a yummy looking latte in it.

The picture was added to the image box by just dragging it in. I was really enjoying how easy it was to customize the pre-existing layouts. The UI and controls were very intuitive and easy to use mechanically.

I then started to edit the next per the tutorial’s guidance. The text boxes were fairly easy to use, and I really appreciated the existance of grid lines which popped up for me to check my alignment as I moved things around. It was easy to change the text size and font as well using the UI, but I didn’t play around much with these.

Finally, I decided that the brown colour scheme was looking a little drab, so I changed it to some lively green colours by selecting the shape and clicking on the colour circle in the edit bar. This was also very easy to do, and made it super simple to customize this poster to my own design choices!

I really enjoyed trying out Canva, so I decided to use it for my portion of the video assignment for this course. I have linked it here for people to check out if they want. I have never done any video editing or animation before, but Canva made it very easy! The preset templates were incredible already to use, and it was very intuitive to change the timing of each block, add animations for different elements and text, and customize the template to match the project better. The last thing that I need to add is audio, but if it’s as simple as everything else was, I think that Canva will make it a breeze!

https://www.canva.com/design/DAGXHzcKX9k/uThZfEciWsNG8d0aOn24wg/watch?utm_content=DAGXHzcKX9k&utm_campaign=designshare&utm_medium=link&utm_source=editor

I will definitely be using Canva in the future as an educator for making slideshows, videos, posters, and other materials to share with my students and the school at large. I have heard that many districts pay for Canva premium for teachers which is very exciting as that will unlock even more features for me to try out!

© 2025 Meg Allan's Hub

Theme by Anders NorenUp ↑