For my first tutorial, I decided to check out Canva. I was already impressed upon opening the tutorial to find that Canva is free and requires no download of software to use. Some of the intro videos on the tutorial are a bit outdated; Canva doesn’t quite work like that anymore, but it is still similar enough that I was able to walk through the tutorial mostly normally.
The tutorial also gave tips for layout and design:
- 5 principles for layout and composition:
- Proximity
- White space
- Alignment
- Contrast and Hierarchy
- Repetition
- Use high-quality, distinct, specific images
- Design choices impact the feel of your project
- Keep promo materials simple – minimal enticing information
- Match colours in your theme to colours in your images
- Give text breathing room – don’t cram it all in
- Collect text, logos, and images before you choose a template and start designing
- Use pre-existing templates on Canva
With these design principles in mind, I jumped into the “design a poster” part of the workshop to try out Canva’s tools for myself.
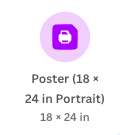
I started by creating a Canva account and selecting my format for my first design. As per the instructions on the tutorial, I chose the Poster format.
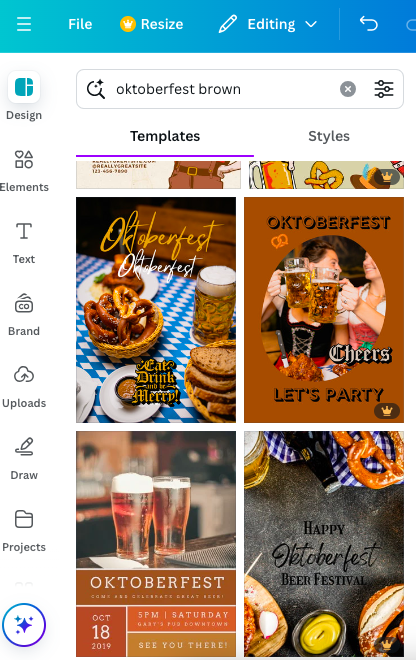
Next, I searched for the template that the tutorial used: “oktoberfest brown.” I was shocked by how many options there were for just brown Oktoberfest posters to choose from, although many of them were blocked by the “premium” account you have to pay for.
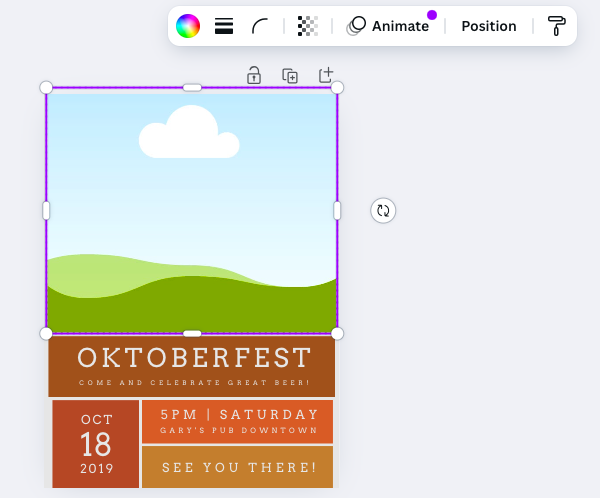
I began editing the template as per the tutorial’s instructions. I removed the image by just selecting it and pressing delete, which left a slot for a new image.
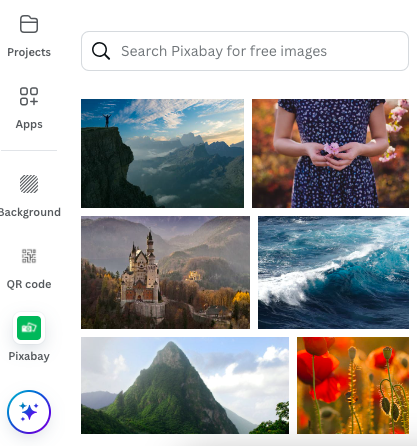
I added “Pixabay” as an app on my sidebar so that I could use it to search for a new image. As per the tutorial’s instructions, I searched for “laptop” and picked a nice option with a yummy looking latte in it.
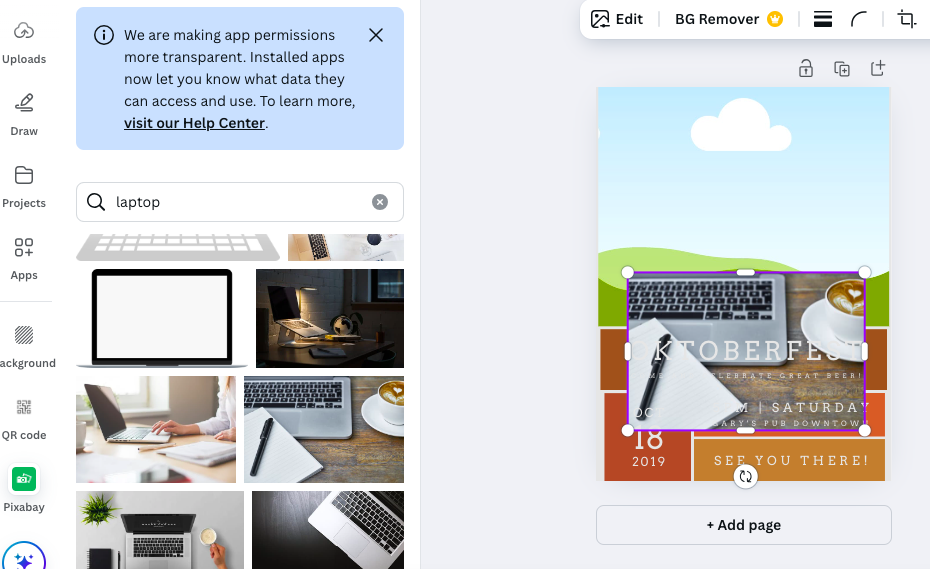
The picture was added to the image box by just dragging it in. I was really enjoying how easy it was to customize the pre-existing layouts. The UI and controls were very intuitive and easy to use mechanically.
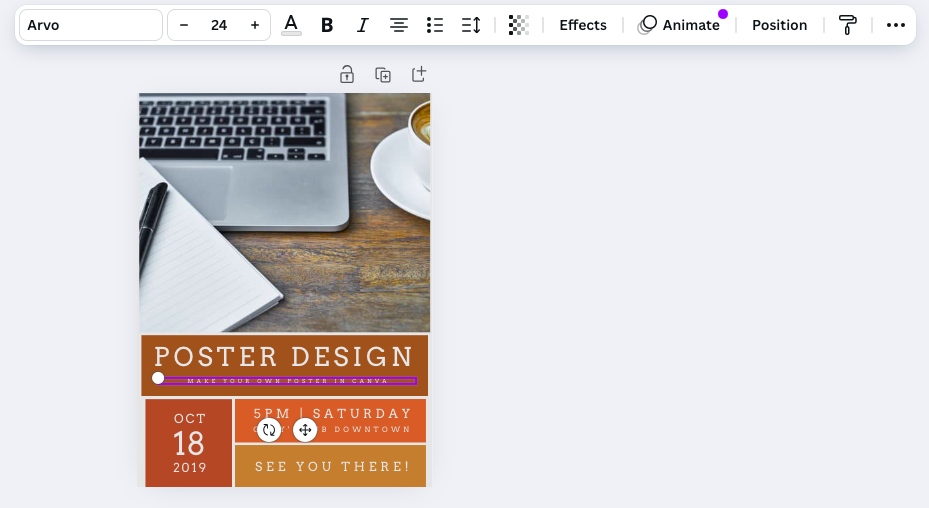
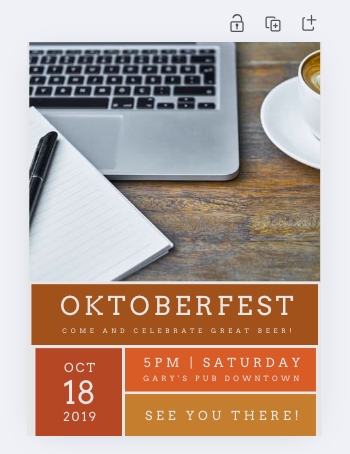
I then started to edit the next per the tutorial’s guidance. The text boxes were fairly easy to use, and I really appreciated the existance of grid lines which popped up for me to check my alignment as I moved things around. It was easy to change the text size and font as well using the UI, but I didn’t play around much with these.
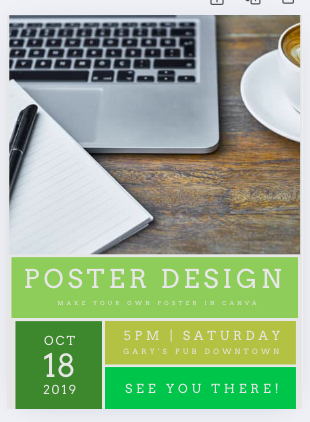
Finally, I decided that the brown colour scheme was looking a little drab, so I changed it to some lively green colours by selecting the shape and clicking on the colour circle in the edit bar. This was also very easy to do, and made it super simple to customize this poster to my own design choices!
I really enjoyed trying out Canva, so I decided to use it for my portion of the video assignment for this course. I have linked it here for people to check out if they want. I have never done any video editing or animation before, but Canva made it very easy! The preset templates were incredible already to use, and it was very intuitive to change the timing of each block, add animations for different elements and text, and customize the template to match the project better. The last thing that I need to add is audio, but if it’s as simple as everything else was, I think that Canva will make it a breeze!
I will definitely be using Canva in the future as an educator for making slideshows, videos, posters, and other materials to share with my students and the school at large. I have heard that many districts pay for Canva premium for teachers which is very exciting as that will unlock even more features for me to try out!